If you’re new to 3D printing, the term “exploded view” might sound intimidating. Don’t worry—it has nothing to do with explosions!
An exploded view is simply a diagram that shows all the parts of a machine “taken apart” and laid out in order (like LEGO instructions).
For the Creality Hi 3D printer, this diagram helps you understand what’s inside the machine and how everything fits together.
In this guide, we’ll break down the Creality Hi’s exploded view in plain language. By the end, you’ll know the key components, their roles, and why they matter—even if you’ve never touched a 3D printer before!
1. What’s an Exploded View? Why Should You Care?
Imagine buying a piece of furniture that arrives as a box of parts: screws, panels, hinges, and a confusing manual.
An exploded view is like a friendly map that shows you where every part goes.
For the Creality Hi, this diagram helps you:
- Understand the printer’s structure: Learn the names and shapes of key components.
- Fix issues: Quickly identify parts if something breaks or needs adjustment.
- Upgrade your machine: Want to add a camera or auto-leveling? The diagram shows where to attach new parts.
For beginners, the Creality Hi’s exploded view is straightforward and easy to follow—perfect for learning the basics.
- Multi Color Printing: Creality Hi Combo 3d printer, combines with a Hi 3d printer and a CFS. Which can fulfill the multi color printing, up to 16 colors with 4…
- Easy Start to Print: Creality Hi is 95% pre-assembled, you can get it going in just 8 minutes after tightening only seven screws and some wiring. A strain gauge…
- Fast Speed Boosted by FOC Step-servo Motors System: The X and Y axis of Creality Hi Combo are driven by step-servo motors with FOC algorithms. This has made…
- Upgraded Durable Direct Drive Extrusion: All-metal extruder gears are wear-resistant and long-lasting. Durable filament cutter can be magnetically pulled back…
- Upgraded Design: A responsive 3.2″ touch screen that can be folded away for a smaller footprint and a boot-up quick guide to help you set everything ready. A…
2. The Printer’s Skeleton: Frame Assembly

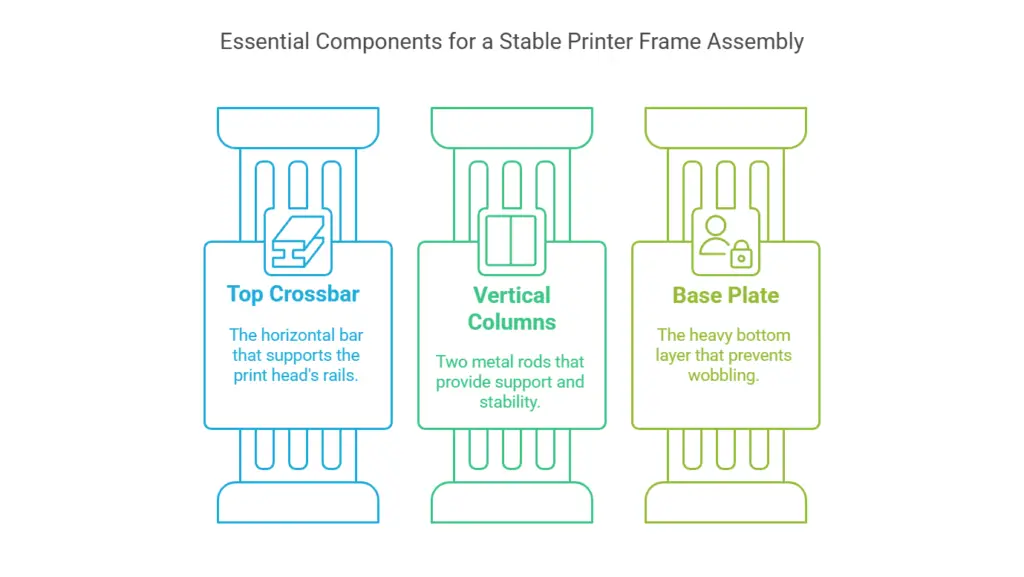
Think of the frame as the printer’s skeleton. It holds everything together and keeps the machine stable. The Creality Hi’s frame includes:
- Top crossbar: The horizontal bar at the top that holds the print head’s rails.
- Vertical columns: Two metal rods on the sides that support the crossbar and moving parts.
- Base plate: The heavy bottom layer that prevents wobbling during printing.
A shaky frame leads to messy prints. Always tighten screws during assembly and check them occasionally to avoid loose parts.
3. The Muscles: Motion System

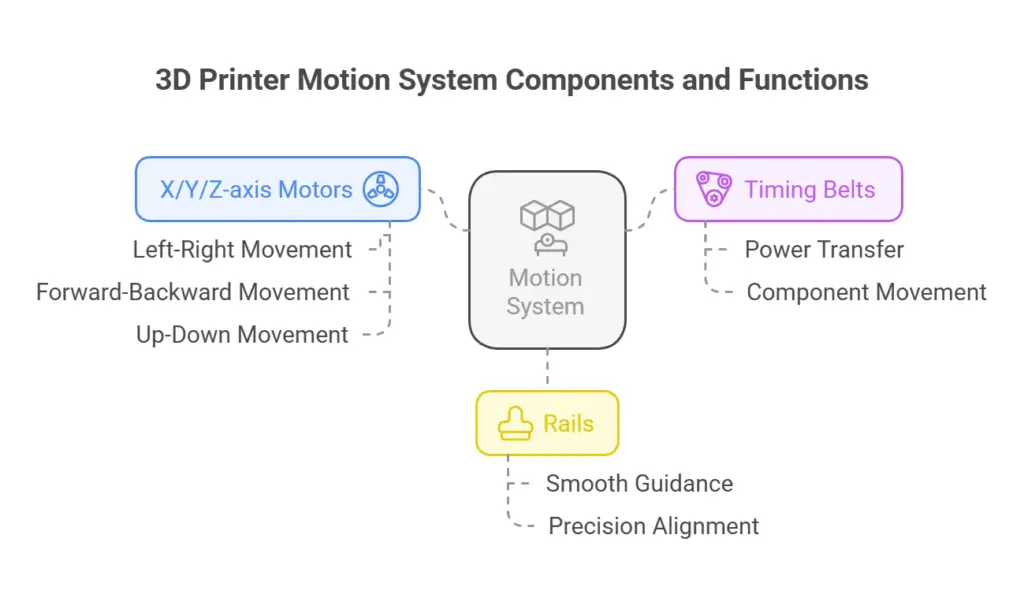
The motion system makes the printer move. It includes:
- X/Y/Z-axis motors: Three motors control left-right (X), forward-backward (Y), and up-down (Z) movements.
- Timing belts: These rubber belts (like bike chains) transfer power from the motors to the print head or bed.
- Rails: Smooth metal tracks that guide the print head and bed.
Common beginner questions:
Why three motors?
3D printing builds objects layer by layer in three dimensions—you need precise control in all directions.
What if a belt is loose?
Loose belts cause “layer shifts” (misaligned lines in your print). Tighten them gently with the adjustment screws.
4. The Heart of Printing: Print Head & Bed
1. Print Head (Extruder)
This is where the magic happens! The print head melts plastic filament and squirts it out to create your model. Key parts:
- Nozzle: A tiny metal tip (usually 0.4mm wide) that extrudes melted plastic.
- Heating block: Heats the nozzle to 200°C+ to melt the filament.
- Cooling fan: Blows air to keep the upper part of the print head cool and prevent clogs.
2. Print Bed
This is where your model gets built. The bed must stay flat and warm:
- Heated bed: Warms up (around 60°C) to help the first layer of plastic stick firmly.
- Leveling knobs: Four screws under the bed to adjust its flatness. Uneven beds cause prints to warp or detach mid-print.
Safety tip: The nozzle and bed get extremely hot. Never touch them while printing!
5. The Brain: Electronics
The electronics control every move and temperature setting:
- Mainboard: The “brain” that processes print files and tells motors and heaters what to do.
- Power supply: Converts electricity to the right voltage. Check your region’s standards (e.g., 120V in the US).
- LCD screen: Lets you start prints, adjust temperatures, and move axes manually.
- Wires and cables: Connects everything. Loose cables can cause sudden stops—check connections regularly.
Don’t ignore this: Dust or spilled filament on the mainboard can cause short circuits. Keep it clean!
6. Handy Accessories
Creality Hi includes extras to make printing easier:
- Filament holder: Holds your plastic spool (usually mounted on the side).
- PTFE tube: Guides filament smoothly into the print head.
- Toolkit: Screwdrivers, a spatula (to remove stuck prints), and spare nozzles.
Why Exploded Views Matter for Beginners

Understanding the exploded view turns a mysterious machine into a logical puzzle. Here’s why it’s useful:
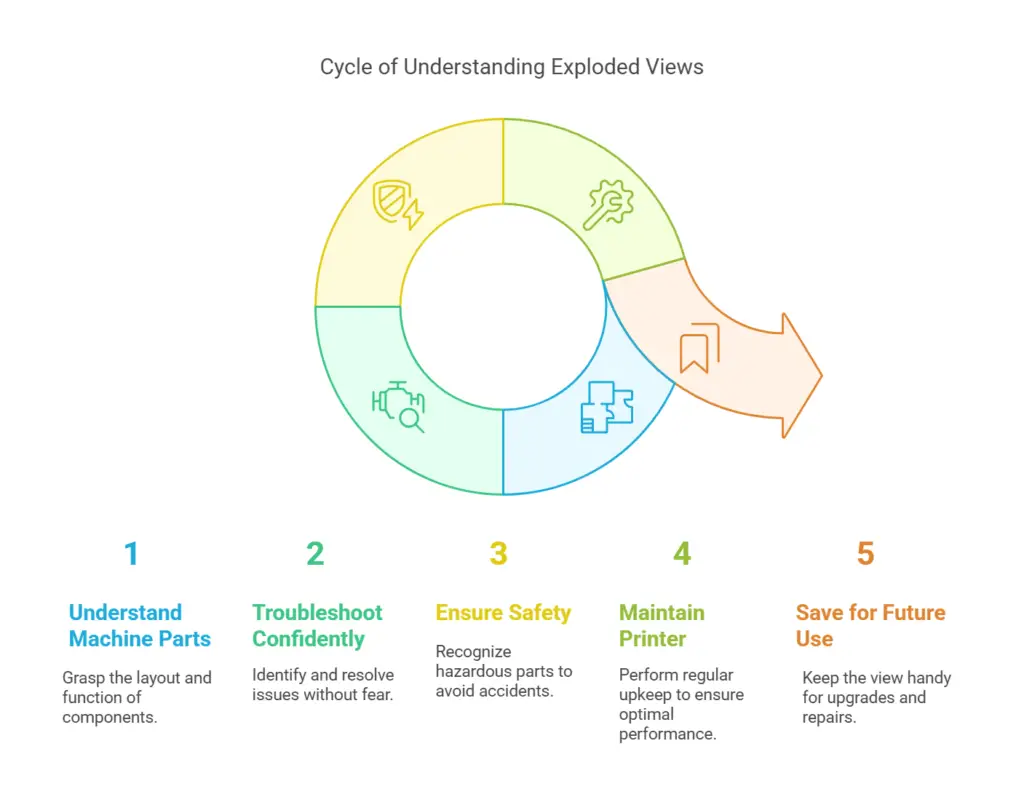
- Troubleshoot confidently: Spot loose belts, uneven beds, or clogged nozzles without panic.
- Stay safe: Know which parts get hot or carry electricity.
- Maintain your printer: Clean rails, lubricate rods, and replace worn parts to keep prints crisp.
Pro tip: Save the exploded view for future upgrades or repairs!
Now you’re ready to explore your Creality Hi with confidence. If you’re curious about bed leveling, nozzle swaps, or slicing software, let us know—we’re here to help!


Leave a Reply