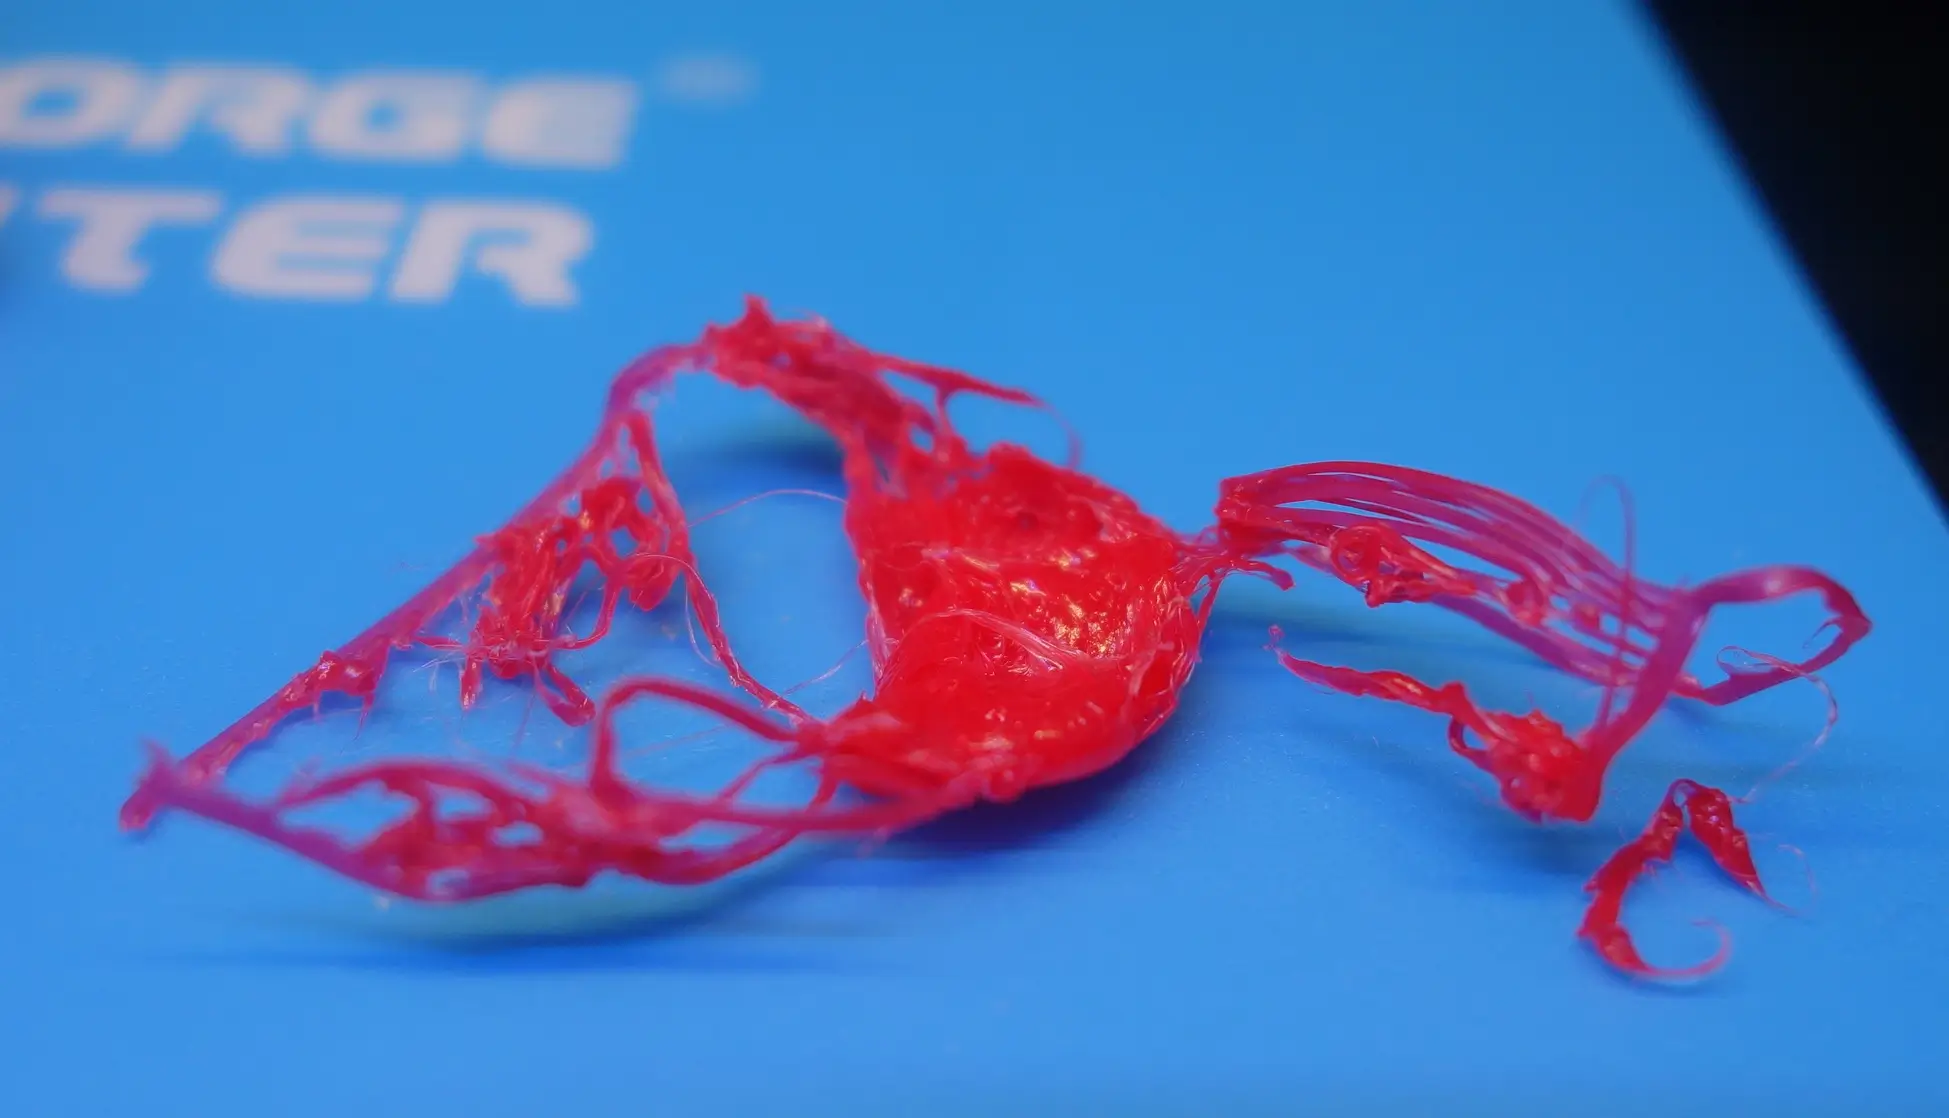
If you notice melted plastic oozing around the nozzle or forming blobs on your Creality Hi printer, don’t panic. This common issue, often called “filament leakage” or “ooze buildup,” occurs when molten plastic escapes from gaps in the hot end assembly.
Follow this straightforward guide to resolve the problem safely and prevent future leaks.
Part 1: Identifying Filament Leaks

A filament leak typically shows these signs:
- Visible plastic buildup around the nozzle or heater block
- Stringy material sticking to the heat break (the metal tube between the nozzle and heatsink)
- Poor first-layer adhesion with uneven extrusion
Part 2: Why Leaks Happen
1. Auto-Leveling Errors
If the printer is disturbed during bed leveling, the nozzle may press too hard against the build plate or hover too high. Both scenarios create gaps where molten plastic can escape.
2. Contaminated Surfaces
- Dirty Nozzle: Old, burnt filament on the nozzle disrupts proper sealing.
- Unclean Build Plate: Fingerprints or leftover adhesive (like glue stick residue) prevent proper material adhesion.
3. Incorrect Settings
- Temperature Issues:
- Too low: Filament doesn’t melt evenly (e.g., PLA below 190°C).
- Too high: Overly runny filament leaks easily (e.g., PLA above 230°C).
- Retraction Settings: Insufficient retraction distance/speed lets filament drip during travel moves.
Part 3: Tools You’ll Need
| Tool | Purpose | Alternatives |
| Heat-resistant gloves | Protect hands from 200°C+ components | Silicone oven mitts |
| Needle-nose pliers | Remove hardened plastic | Tweezers with grip |
| 1.5mm hex key | Remove hot end screws | Precision screwdriver set |
| Brass wire brush | Clean nozzle surface | Old toothbrush (not plastic!) |
| Isopropyl alcohol (70%+) | Clean electronics and metal parts | Ethanol-based cleaner |
| Preview | Product | Price | |
|---|---|---|---|

| QUWIN BBQ Gloves, Oven Gloves 1472℉ Extreme Heat Resistant, Grilling Gloves Silicone Non-Slip Oven… |
$14.99
$11.99 | Buy on Amazon |
Part 4: Step-by-Step Fix
Phase 1: Safety Prep
- Power Down
- Turn off the printer and wait until the nozzle cools below 50°C.
- Remove the magnetic silicone sock from the hot end.
- Position the Printer
- On the screen, tap “Unlock Motors.”
- Lower the build plate to its lowest Z-position.
- Manually move the print head to an accessible area.
Phase 2: Remove Bulk Plastic
- Softening the Leak
- Heat the nozzle to 230°C (for PLA) and wait 8 minutes.
- Note: PETG requires 250°C; ABS needs 260°C.
- Clearing Major Buildup
- Grip the plastic blob at its base with pliers.
- Pull straight downward—**never twist sideways**, as this may damage the thermistor wires.
Phase 3: Deep Cleaning
- Disassemble the Hot End
- Use the hex key to remove the two screws securing the hot end.
- Unplug the heater and thermistor cables (press the connector clips gently).

- Detailed Cleaning
- Nozzle: Soak in acetone for 30 mins (for PLA) or use a brass brush.
- Heat Break: Clear debris with a 0.4mm nozzle cleaning needle.
- Electronics: Wipe the heater block and PCB with alcohol-dipped cotton swabs.
Phase 4: Reassembly & Testing
- Rebuild the Hot End
- Tighten screws diagonally (like car wheel bolts) to ensure even pressure.
- Reconnect cables firmly—listen for a click on the JST connectors.
- Calibration
- Run PID Tuning (Settings > Temperature > PID Autotune).
- Perform Auto-Leveling three times consecutively for accuracy.
- Print a 20mm calibration cube to verify extrusion consistency.
Part 5: Preventing Future Leaks
- Pre-Print Checklist
- Wipe the build plate with isopropyl alcohol.
- Do a “cold pull” to clear nozzle debris: Heat to 100°C, insert filament manually, then yank it out when cooled to 50°C.
- Monthly Maintenance
- Check nozzle tightness (heat to 150°C first to expand metal).
- Lubricate Z-axis rods with PTFE grease.
- Inspect the PTFE tube inside the extruder for wear.
- Optimal Settings for PLA
- Nozzle: 200°C
- Bed: 60°C
- Retraction: 5mm distance, 45mm/s speed
- First-layer speed: 15mm/s
Part 6: Emergency Response
If leakage occurs mid-print:
- Pause the print immediately.
- Raise the nozzle 20mm using the Z-offset adjustment.
- Use tweezers to remove soft plastic while the nozzle is hot.
- Resume printing only if no damage is visible.
Troubleshooting Tips
- Persistent Leaks: Replace the nozzle if worn (≈$2/each).
- Bubbling Sounds: Indicates moisture in filament—dry spools at 45°C for 6 hours.
- Error Messages: “Thermal Runaway” warnings mean faulty thermistor connections—recheck wiring.
By following this guide, even beginners can resolve 90% of leakage issues. For complex problems, download Creality’s official firmware profiles or contact support at cs@creality.com. Remember: A clean printer is a reliable printer! 🛠️


Leave a Reply