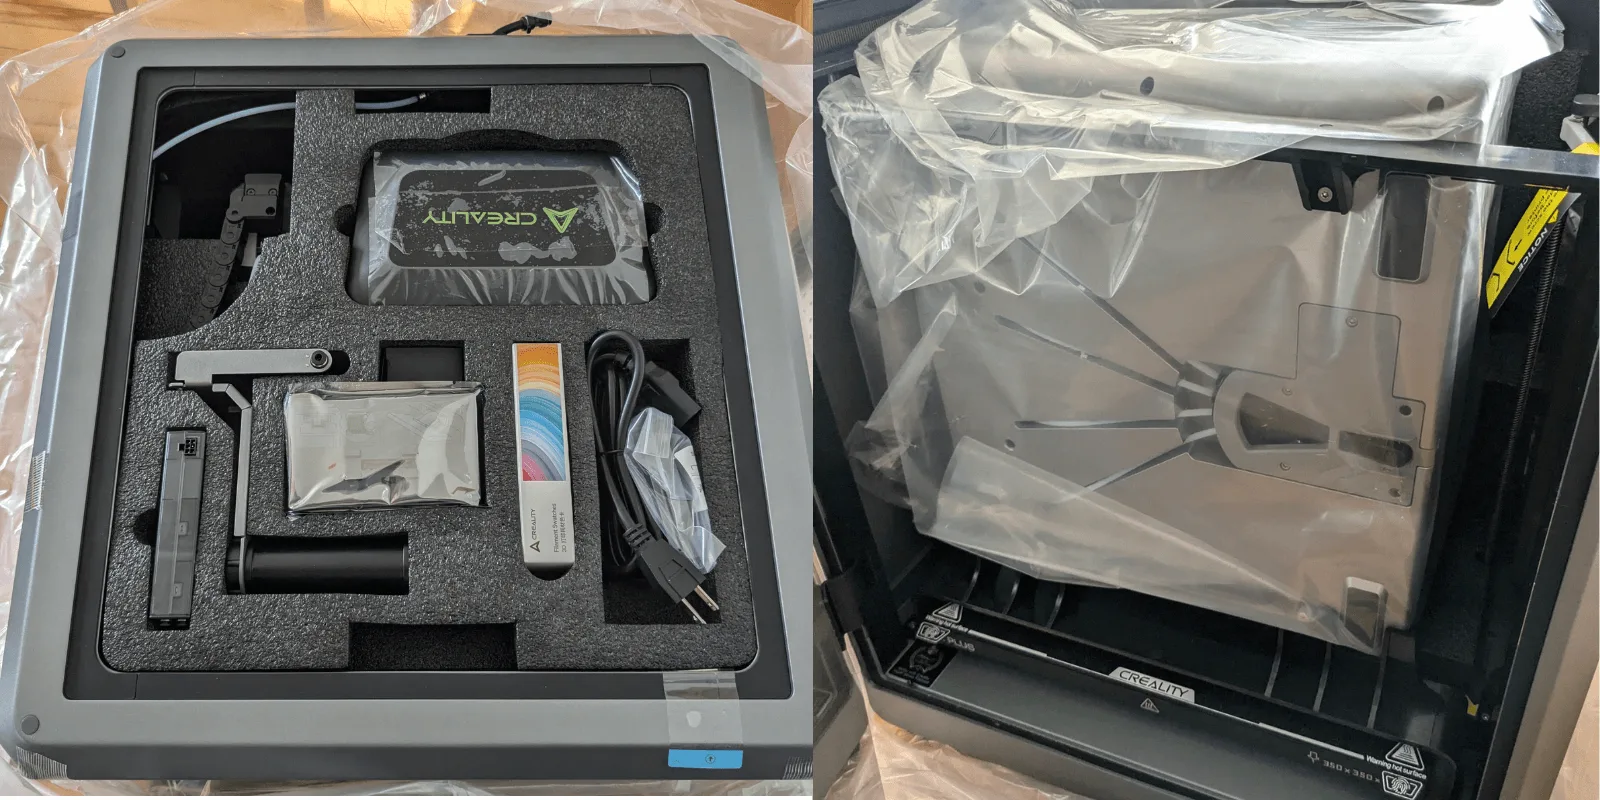
In the realm of 3D printing, the Creality K2 Plus has earned a stellar reputation for its reliability and precision, making it a go-to choice for both enthusiasts and professionals.
However, like any machine, it can encounter issues over time. One common concern reported by users is the detachment of the foot pad, which can affect the printer’s stability and overall performance.
Understanding this phenomenon and knowing how to address it can help keep your K2 Plus functioning optimally.
- 16 COLORS TO ENHANCE YOUR CREATIVITY: The Creality Filament System (CFS) has a connection hub on the…
- SNAPSHOT SUPPORT IS ENABLED: the CFS is able to provide model support in different materials. It can…
- AUTOMATIC FILAMENT MAPPING: The CFS is programmed to communicate seamlessly using Creality 3D…
- AUTOMATIC FILAMENT SWITCHING AND RELAYS: The CFS is able to switch filaments smoothly and accurately…
- AUTOMATIC RUNOUT/TANGLE DETECTION: Sensors are used to monitor each filament reel. It will pause and…
Understanding the Foot Pad Issue
The foot pad is vital for maintaining the balance of the K2 Plus, minimizing vibrations during operation, and ensuring high-quality prints.
Unfortunately, some users have discovered that the foot pad may become detached, resulting in an unstable printing surface. Identifying the root causes of this issue enables users to take proactive measures to prevent it.
Common Causes of Foot Pad Detachment
- Transportation Impact: The K2 Plus is often transported—whether for events, repairs, or relocation. During these movements, unexpected jolts or impacts can loosen the foot pad, potentially leading to detachment. Proper handling during transport is crucial to prevent this issue.
- Manufacturing Assembly: Occasionally, foot pads may not be securely attached during the assembly process. This oversight can create a less-than-stable connection between the foot pad and the printer base, making it more susceptible to detachment over time.
Practical Solutions for Securing the Foot Pad
Fortunately, addressing the issue of a detached foot pad is straightforward. Here are detailed steps to help ensure your K2 Plus remains stable and functional.
Step 1: Inspect the Screws
Begin by inspecting the screws that secure the foot pad. Look for any broken or missing screws, as these are often the culprits behind foot pad instability. If you find any damaged screws, replacing them promptly is key to restoring stability.
Step 2: Use Strong Adhesive
If the foot pad is intact but has detached, applying a strong adhesive can provide a quick fix. Ergo 5800 is a reliable option known for its excellent bonding strength. Here’s how to apply it effectively:
- Preparation: Clean both the foot pad and the area on the printer where it attaches. Removing dust and debris will enhance the adhesive’s effectiveness.
- Application: Apply a thin layer of Ergo 5800 glue to the sticky side of the foot pad. Be careful not to use too much adhesive, as excess glue can overflow and create a mess.
- Reattachment: Carefully position the foot pad back onto the printer base. Press it down firmly and hold it in place for about a minute to ensure a solid bond.
Step 3: Reinforce with Hex Socket Screws
If the screws are missing or damaged, consider reinforcing the foot pad with hex socket screws for added durability. Here’s how to do it:
- Remove Old Fasteners: If any remnants of broken screws remain, carefully remove them to prepare the area for new screws.
- Align the Foot Pad: Ensure the foot pad is properly aligned with the printer base for optimal stability.
- Install New Screws: Use new hex socket screws to fasten the foot pad securely. Ensure they are tightened adequately, but avoid overtightening to prevent damage.
Preventative Measures
To avoid future issues with the foot pad detaching, consider implementing some preventative measures:
- Transport Carefully: When moving the printer, ensure it is securely packed to minimize impacts. Using padded materials or a sturdy case can help protect it during transport.
- Regular Maintenance Checks: Periodically inspect the foot pad and its screws. Addressing any signs of wear or looseness early can prevent more significant issues down the line.
Frequently Asked Questions (FAQ)
- Can the foot pad be reattached after it has fallen off?
Yes, as long as the foot pad is not damaged, you can reattach it using adhesive or by replacing the screws. - How can I tell if the screws need replacement?
If you notice any screws that are loose, broken, or cannot be tightened, they should be replaced immediately.
Conclusion
Maintaining a secure foot pad is essential for the K2 Plus to perform at its best. By understanding the causes of foot pad detachment and following the outlined solutions, users can easily resolve this issue and keep their printer stable. Additionally, implementing preventative measures can help ensure that the K2 Plus remains a reliable companion in all your 3D printing projects.
Whether you’re crafting intricate designs or producing prototypes, keeping your printer in top shape will allow you to focus on what you do best: bringing your creative visions to life.


Leave a Reply