Introduction
The Creality Hi Cutter is a vital component for achieving smooth, precise 3D prints. Over time, wear and tear may compromise its performance, requiring replacement to keep your machine running at its best.
This comprehensive guide will take you through each step of the process—from disassembly to reinstallation—while offering practical tips to help you avoid common pitfalls and ensure success.
Tools You Will Need
| Tool | Purpose |
| H2.0 hexagonal wrench | Used to unscrew and secure components |
| New cutter | Replaces the damaged or worn cutter |
Pre-Replacement Preparations
Temperature Check: Ensure the machine has cooled to room temperature. If it’s been recently used, allow adequate time for cooling to avoid burns or damage.
Filament Removal: Unload any filament loaded in the printer to facilitate a smoother replacement process.
Step-by-Step Disassembly Instructions
Process Overview
Here is a quick visual flow of the disassembly steps for your reference:
Step 1: Power Off → Step 2: Remove Outer Casing → Step 3: Disconnect Wires → Step 4: Disassemble the Extruder
1. Power Off
Before you begin, turn off the printer and unplug it from the power source. This step is crucial for your safety, preventing potential electrical hazards and protecting your machine from accidental damage.
2. Remove the Outer Casing
- Use the H2.0 hexagonal wrench to unscrew the four screws on both sides of the outer casing.
- Gently lift off the outer casing along with the logo rotating plate, taking care not to force anything.
3. Disconnect Wires
Carefully unplug the extruder motor wire, cutter wire, and filament detection wire. Take note of their placements for easy reassembly.
4. Disassemble the Extruder
- Loosen and remove the three screws securing the extruder to the printer frame.
- Once detached, press the tube connector and gently pull out the PTFE tube.
- Slide out the damaged cutter and set it aside.
Step-by-Step Installation Instructions
1. Install the New Cutter
Insert the new cutter into its designated position.
Tip: Ensure the side with the notch on the blade holder faces downward. An incorrect orientation may cause uneven cuts or filament jams, affecting print quality.
2. Reinstall the Extruder
- Flip open the cutter rod before reattaching the extruder.
- Test the cutter push rod by pressing it gently to ensure it rebounds properly. A smooth rebound indicates proper installation.
3. Secure the Extruder
Tighten the three screws on the extruder in the marked order (1, 2, 3) to ensure even pressure and stability.
4. Reconnect Wires
Plug in the extruder motor wire, cutter wire, and filament detection wire. Neatly organize the wires to prevent tangling or obstruction.
5. Replace the Outer Casing
- Align the logo rotating plate and outer casing correctly.
- Secure the casing by tightening the four screws on both sides.
6. Reinsert the PTFE Tube
Push the PTFE tube into the connector until it clicks securely into place.
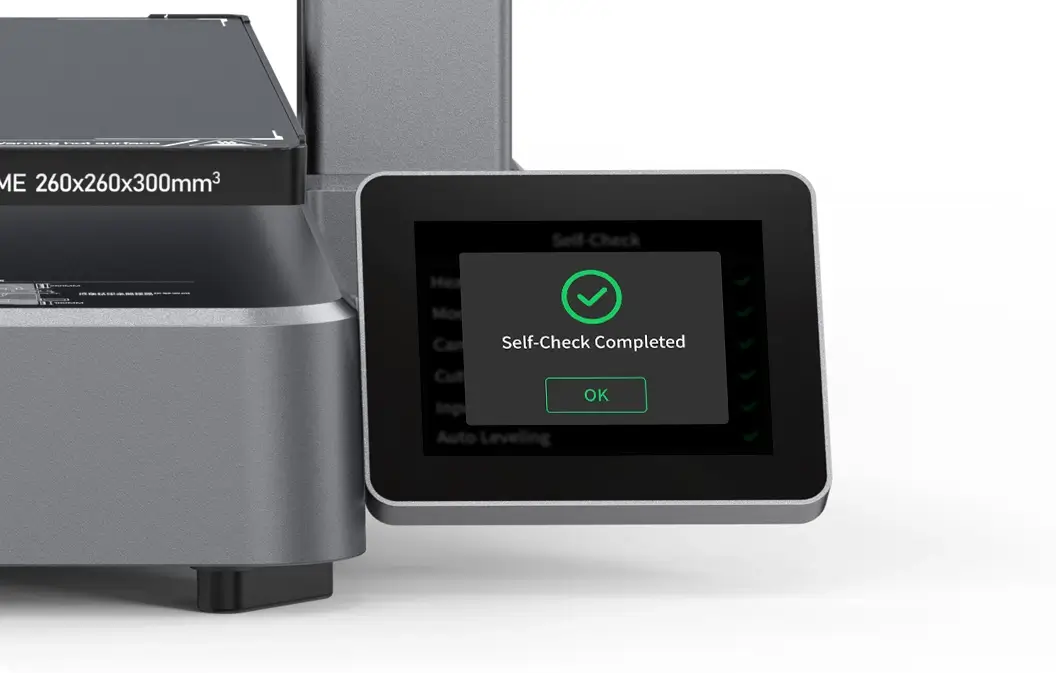
Device Self-Check
Key Functions at a Glance
- Turn on the printer.
- Navigate to Settings > Device Self-Check. Select these options sequentially to confirm proper functionality.
| Feature | Description |
| Input Shaping | Reduces vibrations for smoother movements |
| Auto Leveling | Aligns the print bed for precise printing |
| Start Detection | Verifies the cutter’s functionality |
Troubleshooting Common Issues
Quick Solutions Checklist
| Problem | Solution |
| Cutter Not Rebounding | Verify the cutter direction and tighten screws |
| Loose Wires | Check all connections and secure properly |
| Alignment Problems | Ensure casing and components are aligned correctly |
Safety Tips and Key Considerations
Important: Always power off and unplug the printer before performing maintenance. Below are additional safety and setup highlights:
- Always disconnect power before starting any maintenance work.
- Handle the cutter with care to avoid injury.
- Double-check all connections and alignments to ensure smooth operation after reassembly.
Conclusion
Congratulations! You’ve successfully replaced the Creality Hi Cutter. Regular maintenance not only extends the lifespan of your printer but ensures consistent, high-quality prints.


Leave a Reply