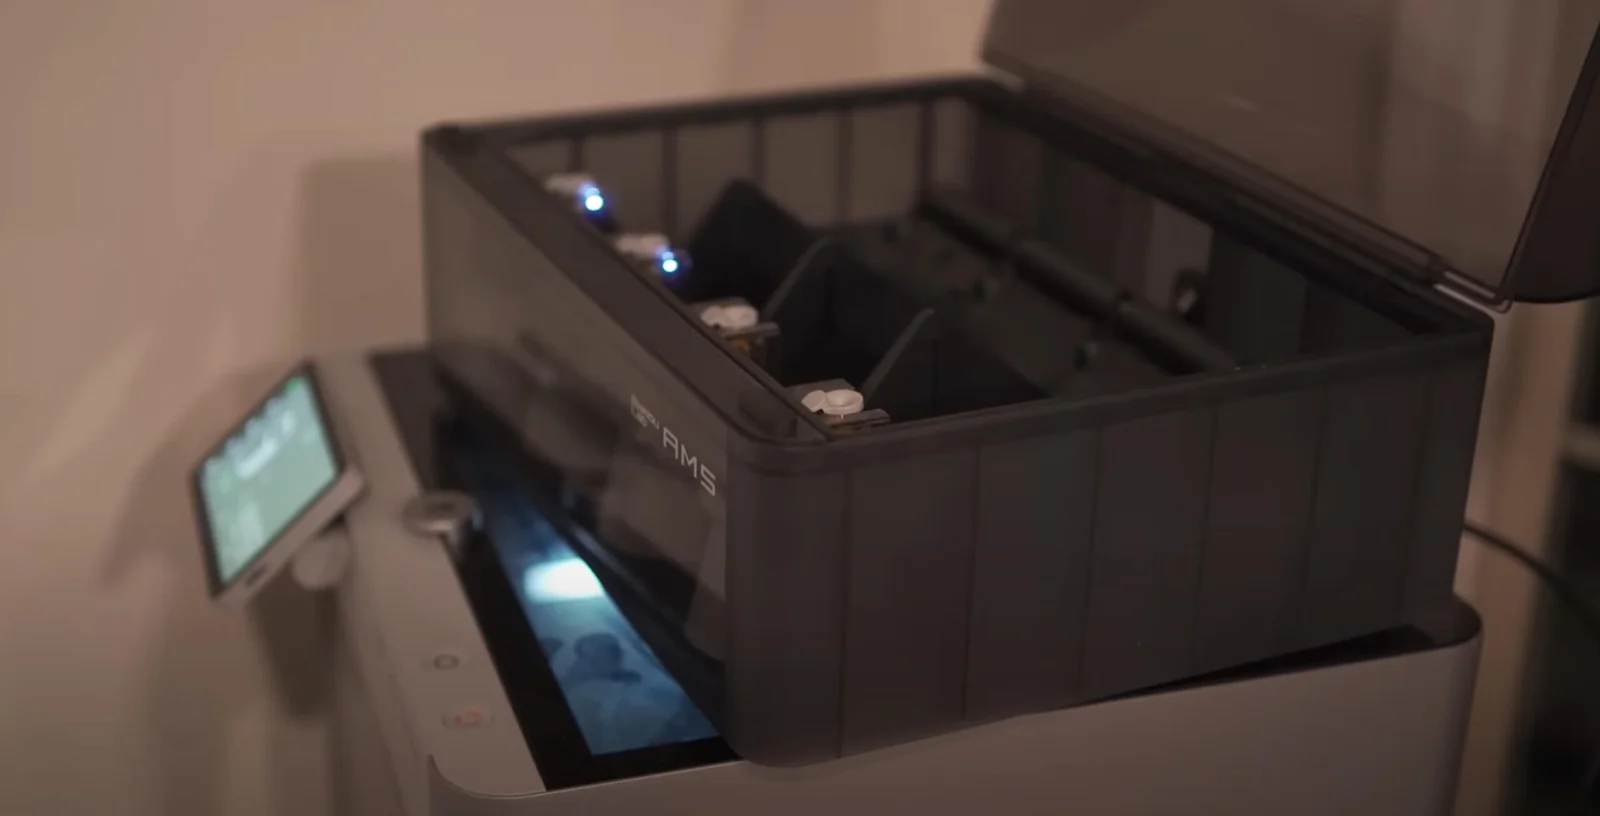
Looking to streamline your 3D printing experience by switching from Creality Filament System (CFS) loading to an external spool holder on the K2 Plus? This simple guide takes you through each step of the transition, unlocking more flexibility and efficiency in managing your filament choices—perfect for expanding your materials or working with larger spools.
Why Make the Switch to an External Spool Holder?
Many people find that using an external spool holder offers increased control and broader filament options. By moving away from the CFS system, you gain the freedom to experiment with a variety of filaments, maintain longer runs with larger spools, and simplify filament management. Follow this guide to make the switch seamlessly and enhance your 3D printing setup.
Step 1: Check if Filament is in the Extruder
Before starting, ensure your printer is idle and not actively printing. Now, check the extruder for filament:
- No Filament Present: If the CFS has already retracted the filament, skip to Step Four.
- Filament Present: If filament remains in the extruder, unload it first by following Step Two.
Step 2: Safely Unload Filament from the Extruder
- On the Filament page, select “Retract.” The extruder will move to the front-left position, getting ready for filament retraction.
- Upon clicking “Retract,” the nozzle will automatically heat to the correct temperature, allowing the filament to be cut and retracted. The “Extrude” and “Retract” options will be temporarily disabled until the retraction is complete.
Helpful Tip: Ensure the nozzle temperature matches the filament type (e.g., 200°C for PLA) to prevent any residue from remaining in the extruder.
Step 3: Confirm Retraction with CFS
After the initial retraction, the CFS will automatically complete the process, making the “Retract” button available again. This ensures that any remaining filament is cleared before you proceed.
Step 4: Safely Disconnect the PTFE Tube from the Buffer
Now it’s time to disconnect the PTFE (Teflon) tube that links the printer to the buffer. Press down on the pneumatic connector on the K2 Plus’s PTFE tube connection, then carefully pull the tube out from the buffer.
Note: Be gentle when disconnecting the tube to avoid damaging the pneumatic connector.
Step 5: Connect Your External Spool Holder to the Printer
Insert the PTFE tube from the external spool holder into the pneumatic connector on the K2 Plus. For guidance, refer to the K2 Plus Spool Holder Printing Guide, which includes helpful visuals to ensure a secure setup.
Step 6: Load Filament into the PTFE Tube
Feed the filament from the external spool holder through the PTFE tube until it meets resistance. This slight resistance indicates it’s properly in place and ready for loading.
Step 7: Update Filament Information in Printer Settings
Now that the filament is connected, update the printer settings to ensure optimal performance with the new filament.
For Non-RFID Filament:
- Go to the filament page and click the edit icon under “Spool Holder.”
- Enter the filament brand, type, and name, followed by the color, and click “OK” to save these settings.
For RFID Filament:
- Place the filament’s RFID chip over the scanner on the printer’s side panel. A “beep” sound will confirm that the filament has been recognized.
- The printer will automatically display the filament details. You can manually adjust these if necessary, though the essential information will already be loaded.
Step 8: Begin Loading Filament into the Extruder
Once the filament information is set, select the loaded filament under “Spool Holder” on the filament page, then click “Extrude.” Observe the nozzle to see if filament begins feeding through.
Tip: If filament doesn’t appear, gently push it from the PTFE tube at the back of the printer, then press “Extrude” again. The nozzle will heat up, and the “Extrude” and “Retract” options will temporarily disable until the process completes.
Step 9: Start Printing from the External Spool Holder
With filament smoothly extruding from the external spool holder, you’re all set to start printing. Don’t forget to uncheck “Enable CFS” to allow the printer to pull directly from the external spool.
Final Thoughts: Enjoy the Added Flexibility
Switching from CFS to an external spool holder enhances control over your filament options and expands your setup’s versatility. For additional tips or if you encounter any issues, consult the K2 Plus user manual or visit our online resources. Enjoy your newfound flexibility, and happy printing!


Leave a Reply