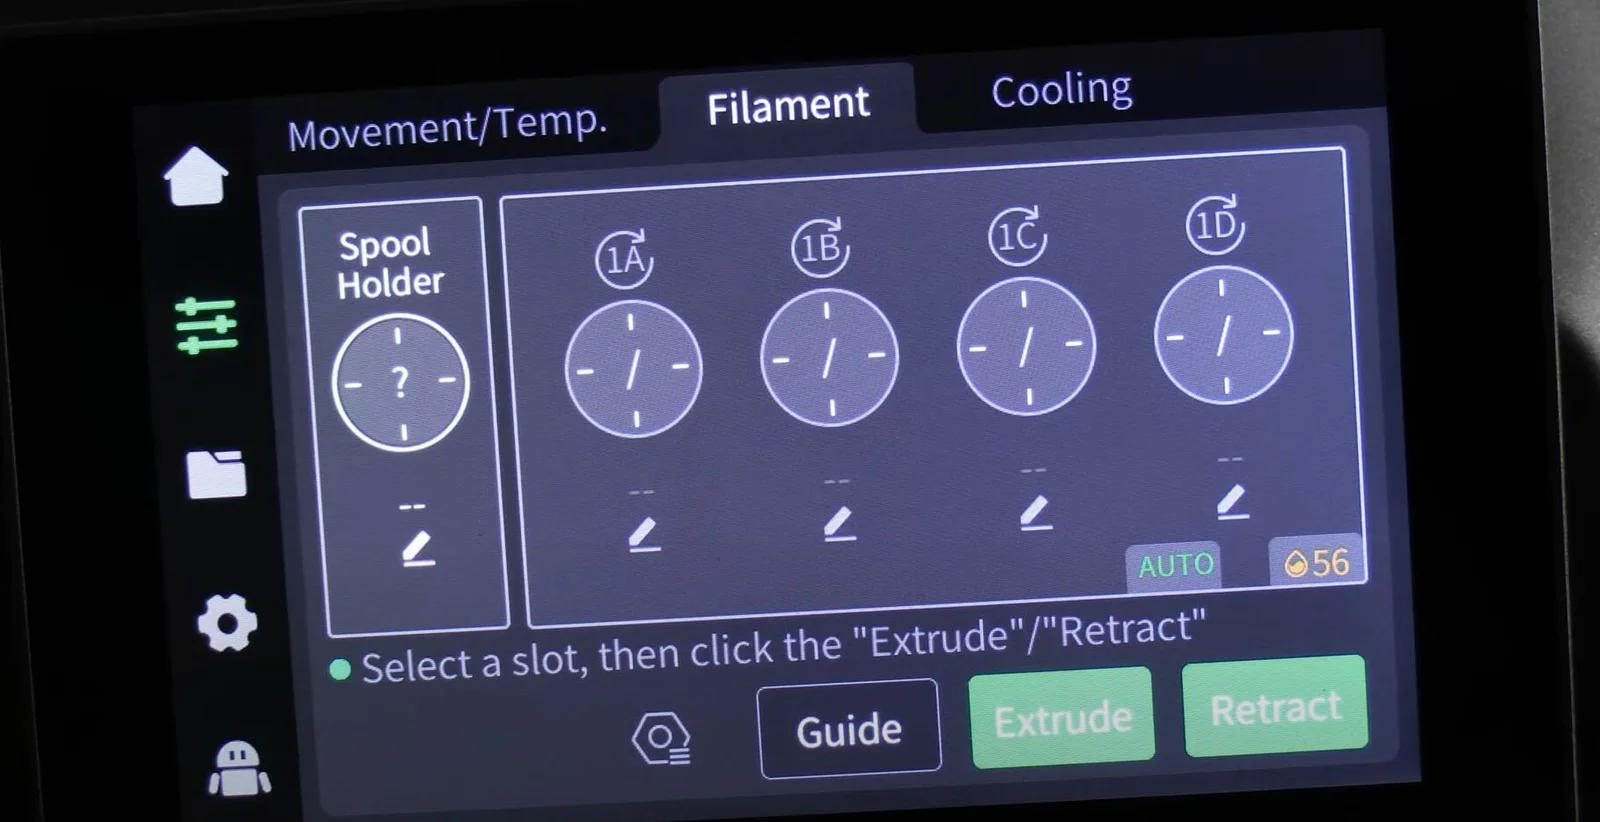
For every dedicated 3D printing enthusiast and professional, maintaining smooth filament feed is essential to achieving optimal print quality. The K2 Plus is a fantastic machine on its own, but adding a custom spool holder can take its functionality a step further by streamlining filament management.
Here’s a straightforward guide to printing and installing a spool holder specifically designed for the K2 Plus, ensuring a reliable filament path and an uninterrupted workflow.
Tools Required:
- Spool Holder (Printable or purchased)
- 4 cm Wrench (To tighten screws securely)
- 4×10 Screws (For fastening the spool holder in place)
- Teflon Tube (Provides a friction-free filament path)
Step-by-Step Spool Holder Installation:
Locate the Mounting Points on the Backplate
Begin by identifying the pre-drilled mounting holes on the backplate of your K2 Plus. Positioning the spool holder here ensures a stable attachment and optimal filament flow.
This placement minimizes the chance of the filament tangling or interrupting your print.
Pro Tip: Verify that the mounting holes are free from debris to allow for a secure fit.
Position the Spool Holder
Once the mounting points are identified, align the spool holder with the filament pipe facing outward.
This alignment lets the filament feed directly into the printer, reducing unnecessary bends and tangling issues.
Secure the Holder with Screws
Insert the 4×10 screws into the mounting holes and tighten them with a 4 cm wrench. Ensure the screws are firm, but be cautious not to overtighten, as this could strain the backplate or damage the mounting area.
A stable holder will prevent any wobbling during long prints.
Attach the Teflon Tube
Finally, connect the Teflon tube between the spool holder and the printer’s filament intake. This tube acts as a frictionless guide for the filament, making the feed smoother and reducing any risk of filament drag.
Pro Tip: Adjust the Teflon tube length to avoid sagging or pulling, which can lead to filament tension or jams.
Troubleshooting Tips
If you experience any issues during installation, here are a few pointers:
- Teflon Tube Length: If the tube is too long, it may sag; too short, and it could create tension. Trim carefully for a precise fit.
- Spool Holder Alignment: Double-check the alignment of the holder to prevent any tilt that may impact filament feed.
Conclusion
By following these steps, you’ll enjoy a more stable, efficient filament path that reduces tangling and interruptions. With this small upgrade, the K2 Plus is better equipped for high-quality prints, whether you’re working on extended projects or intricate designs. Now you’re ready to experience smoother, more reliable 3D printing!


Leave a Reply