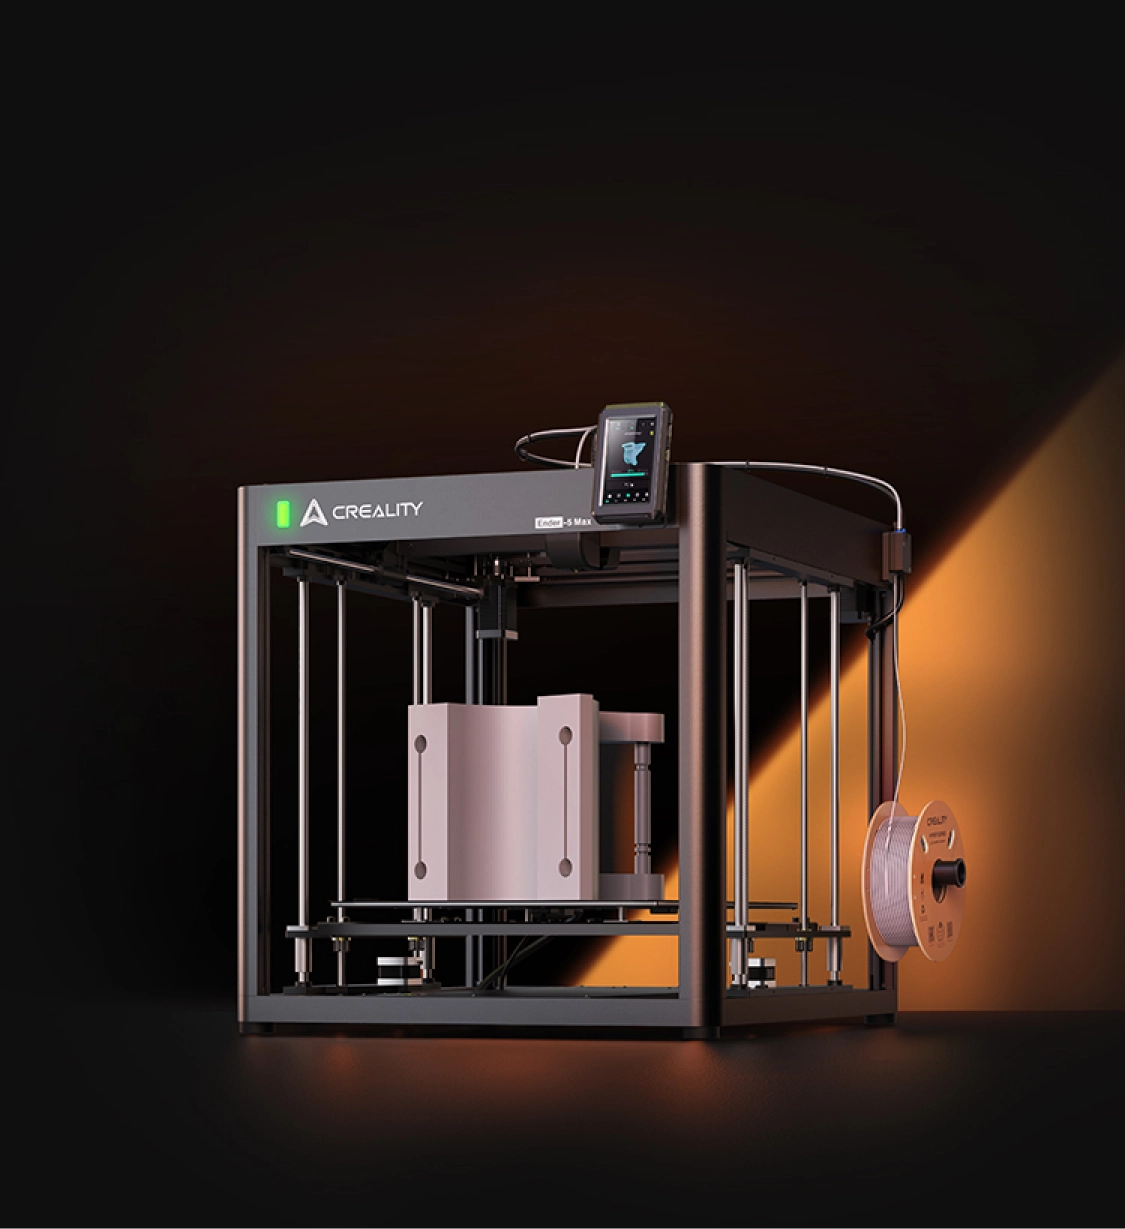
Homing failures on the Ender-5 Max can be a common hurdle for 3D printing enthusiasts. For instance, imagine setting up a long-awaited print only to find the printer stuck mid-motion or failing to align properly.
Whether it’s during the initial startup or when manually triggering the homing function, such issues can disrupt workflows and waste valuable time. These issues can lead to stalled projects, wasted materials, and frustration.
By identifying the root cause and following targeted troubleshooting steps, you can restore your printer’s functionality and ensure smoother operations. This guide aims to provide practical advice and actionable steps for addressing these homing issues effectively.
Understanding the Problem
Homing failures typically occur when the printer cannot properly identify the origin points of its X, Y, or Z axes. You might notice the following behaviors:
- The printer stops mid-motion or fails to reach the correct home position.
- The homing process triggers unusual noises or errors.
These symptoms indicate underlying hardware or connection problems that need attention.
Root Causes of Homing Failures
Based on common observations, homing issues on the Ender-5 Max can stem from:
| Potential Cause | Detailed Description |
| Limit Switch Malfunction | – Limit switches detect when an axis reaches its home position through physical contact or proximity. – They send signals to the control board to stop the motor at the correct point, ensuring precise calibration. – A defective switch may fail to send the correct signals, causing homing errors. |
| Motor Wiring Problems | – Loose connections, damaged wires, or poor contact can disrupt motor performance. – These issues result in incomplete or erratic movement during homing. |
| Motor or Driver Failure | – Faulty motors or motor drivers can hinder smooth operation. – This can lead to inconsistent or failed homing processes. |
| Z-Axis Components Issues | – Problems with the leveling plate or strain gauge often affect Z-axis homing. – These issues can cause inaccuracies or complete failure in homing. |
Step-by-Step Troubleshooting Guide
1. Test the Limit Switches
- Steps to Follow:
- Power off the printer and manually move the nozzle to the center of the build platform.
- Power on the printer, issue a homing command, and manually press the Y-axis limit switch while the axis is moving.
- Observe whether the motion halts midway. Repeat the same process for the X-axis.
- Analysis:
- If pressing the limit switch stops the axis, it’s functioning correctly. If not, the switch may need cleaning, adjustment, or replacement.
2. Inspect Motor Wiring
- Steps to Follow:
- Examine the wiring of the X, Y, and Z motors for loose connectors, exposed wires, or visible damage.
- Gently wiggle the cables while the printer is powered off to identify unstable connections.
- Solution:
- Secure any loose connectors and replace damaged wires to restore stability.
3. Swap and Test Motors
- Steps to Follow:
- Interchange the X and Y motors by swapping their cables and run the homing test again.
- Note whether the error switches to the other axis.
- Analysis:
- If the error moves to the swapped axis, the problem lies in the motor. Replace the faulty motor.
- If the error remains on the same axis, inspect the motor driver on the mainboard for faults. A driver issue may require mainboard replacement.
4. Address Z-Axis Homing Issues
- Steps to Follow:
- Disconnect and reconnect the leveling plate and strain gauge terminals to ensure secure connections.
- Test the Z-axis homing function again.
- Solution:
- If the problem persists, replace the leveling plate and strain gauge with new components to restore proper functionality.
Practical Tips for Success
Ender-5 Max Maintenance Tips
| Action Step | Details | Tools & Resources |
|---|---|---|
| Maintain Spare Parts Inventory | Stock up on essential components like Creality-branded limit switches and motor cables (e.g., Ender-series compatible ones from Capricorn) to have quick replacements on hand when issues arise. |
|
| Schedule Regular Inspections | Periodically inspect wiring and connectors for wear and tear, checking for loose connections or exposed wires. This helps prevent unexpected failures and ensures reliable operation. |
|
| Update Firmware Regularly | Keep your printer’s firmware up to date to fix bugs and improve performance, especially for homing-related issues. Download the latest version from trusted sources, follow the instructions, and check community guides. |
|
Frequently Asked Questions
Frequently Asked Questions about Printer Homing
Q: Why does the printer stop midway during homing?
This often points to a limit switch malfunction or poor motor wiring. Testing and replacing the affected component should resolve the issue.
Q: What if swapping motors doesn’t solve the issue?
If the problem persists with the same axis after swapping, it’s likely a driver or mainboard issue requiring replacement.
Q: Can a dirty nozzle affect homing?
No, homing failures are unrelated to the nozzle condition. However, keeping the build platform clear of obstructions is crucial for smooth movement. Common obstructions include stray filament pieces, debris, or tools left on the platform. To ensure smooth operation, always check for and remove such items before starting a print. Regular cleaning of the platform and inspection of moving parts can help prevent unexpected interruptions.
Conclusion
Homing issues on the Ender-5 Max can disrupt your 3D printing experience, but with a methodical approach, these problems can be resolved efficiently. By testing the limit switches, inspecting motor wiring, and addressing specific axis issues, you can restore normal functionality and prevent future disruptions.
For ongoing reliability, consider scheduling regular maintenance checks and keeping spare components on hand. With these proactive measures, your Ender-5 Max will remain a dependable tool for your creative projects.


Leave a Reply