Keeping your Creality K2 Plus 3D printer firmware updated is crucial to ensuring reliable performance, unlocking new features, and maintaining compatibility between components.
This step-by-step guide makes upgrading your K2 Plus and CFS firmware simple, with clear instructions to get you printing at peak potential.
1. Know Your Firmware Formats
Understanding the format differences between K2 Plus and CFS firmware helps you get started correctly:
- K2 Plus Firmware:
.imgformat - CFS Firmware:
.binformat
During the K2 Plus firmware update, if the printer detects an older CFS firmware version, it will prompt an update to keep the systems in sync.
This automatic update ensures stability and compatibility, so it’s a good idea to check your versions beforehand to prepare.
- 16 COLORS TO ENHANCE YOUR CREATIVITY: The Creality Filament System (CFS) has a connection hub on the…
- SNAPSHOT SUPPORT IS ENABLED: the CFS is able to provide model support in different materials. It can…
- AUTOMATIC FILAMENT MAPPING: The CFS is programmed to communicate seamlessly using Creality 3D…
- AUTOMATIC FILAMENT SWITCHING AND RELAYS: The CFS is able to switch filaments smoothly and accurately…
- AUTOMATIC RUNOUT/TANGLE DETECTION: Sensors are used to monitor each filament reel. It will pause and…
2. Upgrade or Downgrade Firmware via USB Drive
Using a USB drive is a reliable and simple way to keep your firmware updated, especially for offline devices. Here’s how:
Step 2.1: Check Your Firmware Version
Go to Settings on your printer to verify the current firmware version. Confirming your version first helps avoid unnecessary steps and ensures you’re downloading the correct update.
Step 2.2: Download the Latest Firmware
Visit Creality Cloud to download the latest firmware files specific to your K2 Plus or CFS. Using the latest versions ensures you have the newest features and fixes.
- Creality Cloud Firmware Download: Visit Creality Cloud
Step 2.3: USB Upgrade Process
STEP 1: Prepare the Files
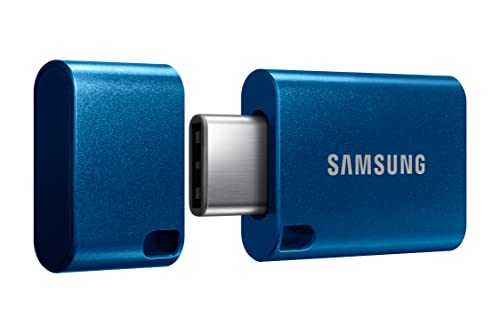
- Save the downloaded firmware files (K2 Plus or CFS) to a USB drive. If both updates are needed, upgrade the CFS firmware first, followed by K2 Plus for optimal results.
- Double-check that the files transferred successfully to avoid errors during installation.
STEP 2: Upgrade on the Printer
- Insert the USB drive into the printer’s port.
- Go to Settings, select Upgrade, and wait as the printer completes the update process. The device will restart automatically once the update is finished.
Calibrate for Best Results
After upgrading, go to Settings > Detecting Options:
- Enable Input Shaping to reduce print quality issues.
- Select Start Detecting to begin calibration, enhancing your print quality and accuracy.
Pro Tip
Always retract the filament before starting Input Shaping to avoid interference during calibration.
3. Upgrading Firmware Online
For a convenient, direct upgrade, connect your printer to the internet and link it to your Creality Cloud account.
Online Firmware Upgrade Steps:
Step 1: Check for New Versions
- Go to Settings > Version Checking.
- If a new update is available, a red dot will indicate it. Make sure only one CFS device is connected to prevent detection errors (a fix for this is in progress).
Step 2: Download the Update
- Click Download to begin. The installation will start automatically once the download completes.
Step 3: Complete the Installation
- The printer will restart automatically to finalize the update.
Step 4: Run Calibration
Return to Settings > Detecting Options:
- Enable Input Shaping and Auto Leveling.
- Select Start Detecting to complete calibration, ensuring the highest printing precision.
Conclusion
With this guide, keeping your K2 Plus and CFS firmware up-to-date is easy and rewarding, as each update enhances performance, stability, and access to new features. Regular firmware upgrades ensure that your Creality 3D printer continues to deliver excellent results, helping you stay at the forefront of 3D printing technology.


Leave a Reply