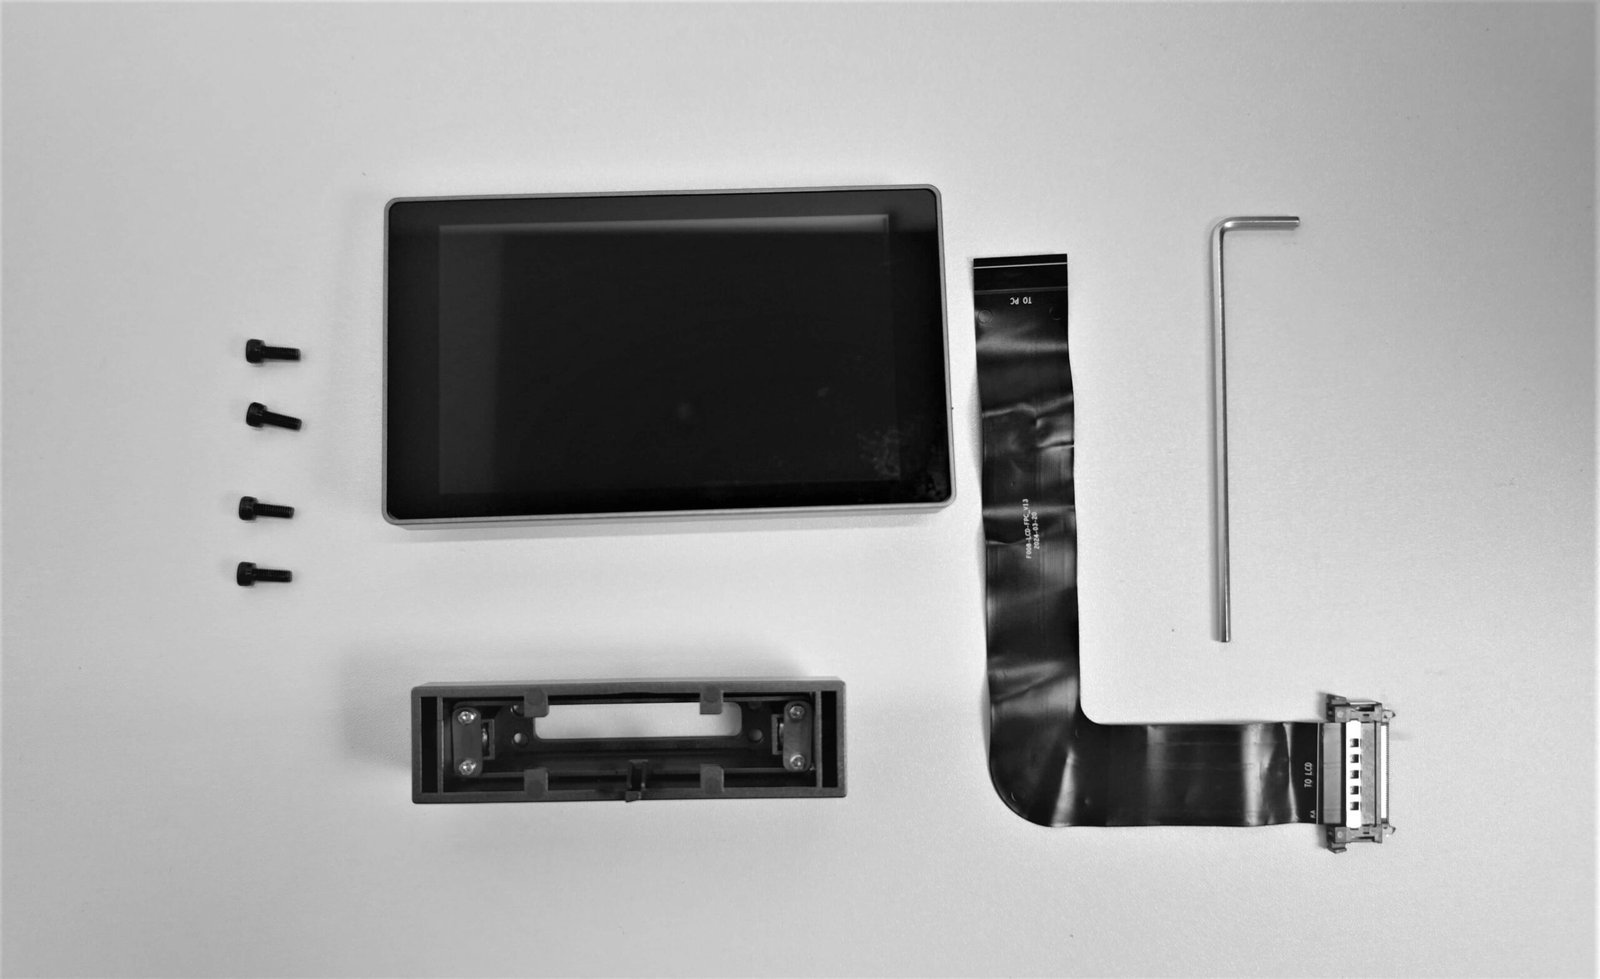
A black or unlit screen on the K2 Plus 3D printer is a common issue that can leave users wondering where to begin. This article offers a comprehensive look into the problem, sharing practical insights and steps to address it effectively.
By the end, you’ll feel confident tackling the issue, with a clear understanding of what to check and straightforward steps to resolve it.
Understanding the Issue
Problem Overview:
When you power on the K2 Plus, the screen remains dark and unresponsive. This might stem from connection problems or hardware faults. Let’s break down the possible causes and solutions.
Step-by-Step Troubleshooting
Step 1: Inspect the Screen Cable Connection
- Check the Installation:
- Look closely at the screen cable to confirm it’s fully inserted into the terminal. Partial connections are often the culprit.
- Ensure the cable is straight, free of twists, and properly routed. A kinked cable can weaken the connection.
- Examine the Connectors:
- Inspect the cable’s connectors and the terminal on the PCB board. The PCB board is a flat, rectangular circuit board typically found inside the printer, where components and connections are mounted. Are there any signs of dust, bent pins, or corrosion? Even slight dirt can block signals.
- Use a soft, lint-free cloth or compressed air to gently clean the connectors if needed.
- Reconnect Carefully:
- Detach the cable, taking note of its orientation. Reconnect it firmly but without excessive force. Listen for a small click, indicating a secure fit.
Step 2: Evaluate the Mainboard Indicator Lights
- Access the Mainboard:
- Remove the cover of the mainboard to expose the indicator lights. Handle the printer gently to avoid damaging internal components.
- Interpret the Lights:
- Normally, you should see one indicator light steadily lit and another flashing. This pattern confirms the mainboard is functioning properly.
- If both lights are off or static, it might indicate a power or hardware failure that needs deeper investigation.
Step 3: Test the Screen Functionality
- Swap Devices:
- If you have access to another 3D printer or compatible device, connect the screen to it. This will confirm whether the screen itself is functional.
- Use a Spare Screen (if available):
- If the original screen fails, try a replacement to verify the issue. Note that official screens are recommended for compatibility.
Step 4: Address Potential Power Issues
- Inspect the Power Supply:
- Ensure the printer is receiving stable power. Use a multimeter to check the voltage output at the power supply and confirm it matches the required specifications. Additionally, verify that the power outlet is functioning properly by testing it with another device. Fluctuations or low voltage can affect the screen’s performance.
- Check Wiring:
- Follow the power cables to confirm they’re firmly connected and undamaged. Any loose wiring should be secured.
Common Questions and Challenges
Q: My screen still doesn’t light up even after reconnecting the cables. What next?
A: If you’ve checked all connections and indicator lights, the screen may need to be replaced. Reach out to the manufacturer for support or purchase an official replacement part.
Q: What if the indicator lights are not functioning as expected?
A: Unusual behavior from the indicator lights may point to an issue with the mainboard or power supply. Consult a technician or contact Creality support for guidance.
Q: How can I prevent this issue from happening again?
A: Regularly inspect cables and connections for wear and tear. Keep the printer in a clean, dust-free environment to minimize hardware issues. Consider using protective covers to shield the printer from airborne particles and investing in small air filters or purifiers to maintain a cleaner workspace. Regularly wiping down surfaces around the printer can also reduce the accumulation of dust.
Safety and Maintenance Tips
| Step | Action |
|---|---|
| Power Down First | Always turn off and unplug the printer before inspecting or adjusting any components. This ensures safety and prevents further damage. |
| Use Gentle Force | When handling cables and connectors, avoid forcing them into place. Misaligned or overly forced connections can permanently damage your printer. |
| Keep It Clean | Dust and debris can accumulate over time. Periodically clean connectors and terminals to maintain optimal performance. |
| Store Properly | Avoid placing the printer in a humid or excessively hot environment, as this can accelerate wear on internal components. |
Conclusion
Experiencing a black or unlit screen on your K2 Plus printer doesn’t mean you’re stuck. By carefully inspecting cables, testing the screen, and evaluating indicator lights, you can pinpoint the issue and often resolve it on your own.
Regular maintenance and proper care can also help prevent similar problems in the future. If you’re still facing challenges, don’t hesitate to contact customer support for professional help.
For more detailed guides and troubleshooting tips, keep exploring our resources. Your printing journey is about to get much smoother!


Leave a Reply